

Setting up downloaded files using PlatformIO
Download VS Code, the PlatformIO extension and then install project files - Using Windows.

Install Dependencies
1. Install VS Code
Download and install Visual Studio Code from the official site.
2. Install Python
PlatformIO needs Python available on your system.
Download and install Python from the official site.
3. Open VS Code
Launch VS Code after installing it.
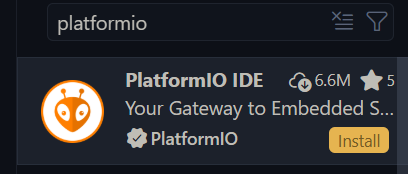
4. Install the PlatformIO IDE Extension
In VS Code:
Click the Extensions icon on the left sidebar
Search for platformio
Click Install
5. Restart VS Code
Once installation finishes, it will prompt you to refresh the window. If it doesn’t, close the application, then reopen it.
Using in a Project
1. Download the GitHub Files
Open the required GitHub repository, like this one:
Click Code, then Download ZIP.

Once the files have downloaded, Extract them.
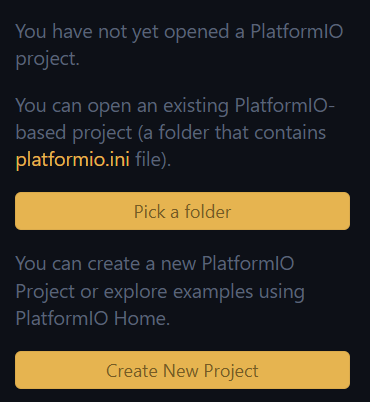
2. Open in PlatformIO
Open a new VS Code window. Click of PlatformIO’s icon in the extension panel. It looks like an alien.

Then click on Pick a folder. Select the extracted folder you downloaded. Make sure to select the folder with the platformio.ini file. Or if you want to start from scratch, Click Create New Project. A full tutorial for that can be found here.
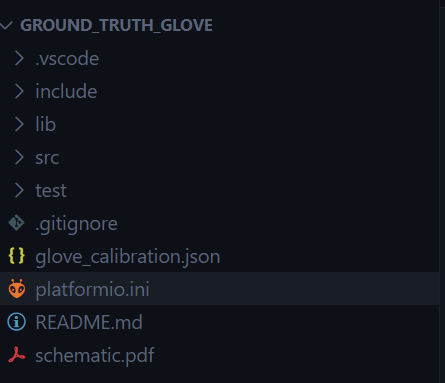
Your file tree should look something like this:
3. Upload and Run
You may have noticed a new set of icons at the bottom of the window.

House - PlatformIO home page
Tick - Build main.cpp
Arrow - Upload main.cpp to board
Bin - Clean build
Flask - Test build
Plug - Open Serial Monitor
Terminal - Open terminal
Plug w/ Auto - Set port
Now you can plug in your board, set the COM port and start tinkering! Try out these Hand Tracking Gloves first! For more help, check out PlatformIO’s documentation.
Please note that the information in this post is subject to updates to improve correctness and readability. Any issues or improvements? Send me an email at sheyitawn@gmail.com!